
From Flat White to Latte Art: The Home Barista's Guide to Steaming Milk Like a Pro
Achieving velvety microfoam at home transforms a good espresso into a great milk-based drink. This guide breaks down the gear, the milk, and the precise technique required for cafe-quality steamed milk.
Steaming milk well is not just about heating; it's about crafting microfoam. The difference between a bubbly, scalding mess and a silky, integrated texture is the difference between a passable latte and one that lingers in memory. Forget the notion that cafe-quality milk is exclusive to commercial machines. With precision and practice, your home setup can deliver.
The goal is a harmonious emulsion of air and milk, sweet without added sugar, with a glossy finish that pours like wet paint. This isn't just for latte art; it fundamentally changes the mouthfeel and flavor integration of your drink, whether it's a flat white, a cappuccino, or a simple cortado.
The Right Gear: Beyond the Machine
Your espresso machine’s steam wand is the heart of this operation. Home machines vary wildly. A single-hole tip, common on models like the Rancilio Silvia or many Breville machines, requires more patience and a slower process than the multi-hole tips found on commercial-grade equipment. It's not a limitation, but a calibration point for your technique. Stainless steel milk pitchers are non-negotiable. They conduct heat efficiently, allowing you to gauge temperature by hand. A 12oz pitcher is ideal for a single drink, a 20oz for two. Don't buy a pitcher too large for the volume of milk you typically steam. An accurate milk thermometer is a crucial training tool, but eventually, you'll learn to feel the heat through the pitcher.
As for milk, full-fat dairy milk (whole milk) offers the best canvas. Its fat and protein content provide the structure and sweetness necessary for stable microfoam. If you prefer alternatives, Oatly Barista Edition or Minor Figures Oat Milk are excellent choices, formulated specifically for steaming. Always start with milk straight from the refrigerator. Colder milk gives you more time to introduce air before it heats too quickly.
Mastering the Stretch: Incorporating Air
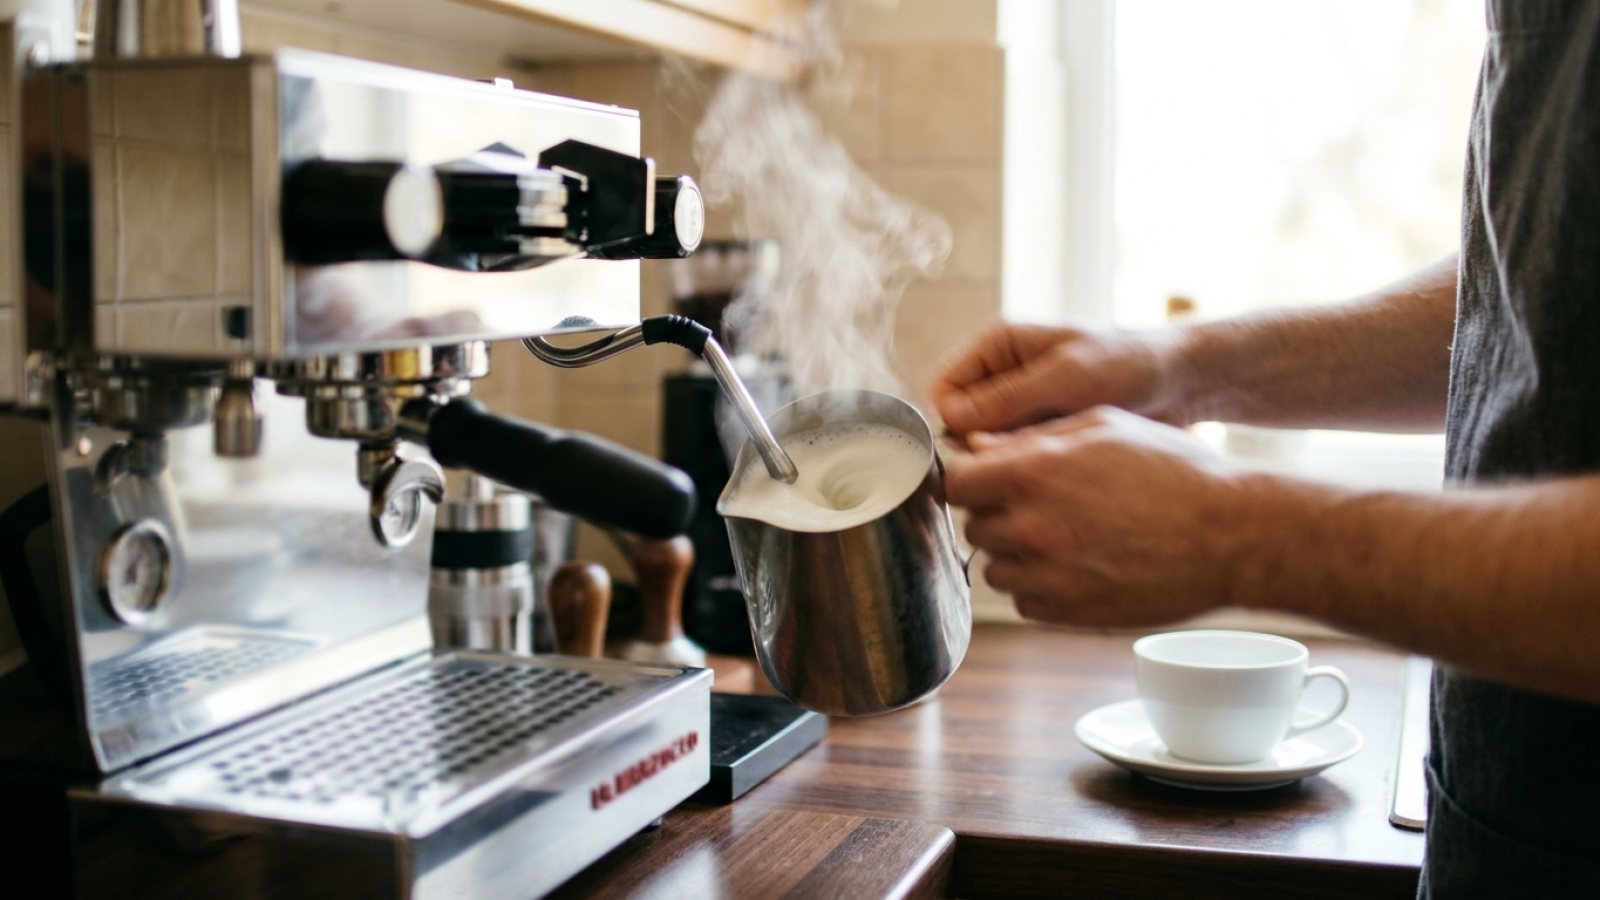
Before you begin, purge your steam wand. Open it briefly to release any condensed water. This prevents watery milk and ensures dry, powerful steam. Fill your pitcher with cold milk, typically to just below the spout's bottom curve—about 1/3 to 1/2 full, depending on the pitcher size and desired volume. Insert the steam wand tip just below the surface of the milk, at an angle. The angle is critical; it creates a vortex.
Open the steam valve fully and immediately. You should hear a gentle, consistent “hiss” or “paper tearing” sound. This is the stretching phase, where you introduce air into the milk. Maintain this sound and position, keeping the tip barely submerged. The milk volume will increase, and the texture will begin to resemble wet paint. For a flat white, you want less air; for a cappuccino, a bit more. This phase is usually brief, 5-10 seconds, depending on your machine's power. Your goal is to increase the milk volume by about 15-20% for a flat white, up to 30% for a cappuccino.
The Texturing Whirlpool and Critical Temperature
Once you've introduced enough air, lower the pitcher slightly, submerging the steam wand tip deeper into the milk. The “hissing” sound should stop, replaced by a smooth, deep “whirlpool” sound. This is the texturing phase, where you integrate the introduced air evenly throughout the milk, breaking down larger bubbles into tiny, imperceptible microfoam. Maintain this swirling motion, ensuring the milk is constantly circulating. The pitcher will become warm, then hot.
Monitor the temperature. For dairy milk, the ideal range is 140-150°F (60-65°C). Any hotter, and you risk scalding the milk, destroying its natural sweetness and creating an unpleasant smell. Any colder, and the texture won't hold. You'll feel the heat through the pitcher; when it becomes too hot to comfortably hold for more than a second or two, it's usually at temperature. For oat milk, aim slightly lower, around 135-140°F (57-60°C), as it can scorch more easily.
Finishing and Pouring for Integration
Once the milk reaches temperature, immediately close the steam valve and remove the pitcher. Purge the steam wand again to clear any milk residue and wipe it clean with a damp cloth. This habit prevents dried milk from clogging the wand, a common issue for home baristas. In the pitcher, tap it firmly on the counter a few times to burst any remaining large bubbles. Then, swirl the milk continuously until it has a uniform, glossy consistency, like melted vanilla ice cream. This swirling prevents the foam from separating from the liquid milk.
When pouring, tilt your cup and pour steadily from a medium height to integrate the espresso and milk. As the cup fills, bring the pitcher closer, lowering your pour to the surface. For latte art, adjust the angle and speed to allow the white milk to rise to the surface. Even without intricate designs, a well-steamed and properly poured milk drink will have a beautiful, even layer of microfoam, fully integrated with the espresso beneath. Practice makes perfect here. Each pour refines your touch, transforming a good shot into an exceptional experience.
